We've been in our new house for a few months now and it's finally starting to feel a bit more like home. Moving from 1500 square feet to over 5000, means that we have a lot of empty rooms. I'm trying to be patient and enjoy the process of furnishing and finishing this house. But some days I find myself still missing our old home. We brought home our first child and made memories as a family there. I discovered my passion for interior design and made the difficult decision to change careers there. We poured sweat and tears into fixing it up. And finally when we finished all our projects and decorating, we moved.
As a designer I know that decorating is never truly "finished," but I had reached the point of comfort and peace with our last home. When I sat in a room there weren't any "things" unfinished and just itching to be completed. We plan to be in this new home for a long time, so I'll have plenty of time to perfect everything here. Until then, here's a glimpse at our last home.
Living Room


I hope you enjoyed my little trip down memory lane. I'm excited to share the progress of our new home in upcoming posts!

*Photos courtesy of Tour Factory
As a designer I know that decorating is never truly "finished," but I had reached the point of comfort and peace with our last home. When I sat in a room there weren't any "things" unfinished and just itching to be completed. We plan to be in this new home for a long time, so I'll have plenty of time to perfect everything here. Until then, here's a glimpse at our last home.
Living Room
It was important for me to keep the living room feeling bright and open. I kept the furniture neutral to allow flexibility if my tastes in color changed in the future. It's easy to swap out other textiles and accessories inexpensively, but a quality sofa is something we wanted to invest in for years to come.
 |
| sofa :: console cabinet :: artwork :: lamp |
 |
| arm chair :: rug :: coffee table :: side table wall color Behr Sierra Madre |
Dining Room
Our dining room was very functional for us. But as someone who loves to entertain, I was always itching for a larger space to hold a dinner party. We knew we'd eventually move into a home with a larger dining room, so I never invested in dining furniture. However, I did invest in a chandelier that I absolutely loved. I seriously considered taking it with me when we moved, but it just fit the house so well I knew it needed to stay. Plus, now I get to shop for light fixtures for our new home!

 |
| chandelier :: drapery panels :: highchair |
Kitchen
This kitchen was truly the feature that sold us on this house. We did some minor work to update the hardware, backsplash, and paint color. But it didn't need much else. It was open and airy and extremely functional for it's size. In fact, I didn't realize how well planned it was until we moved into our new house. Our new kitchen is more than twice the size but doesn't function well at all. The space planning is so poor I can't imagine it was designed by anyone who enjoyed cooking.


Master Bedroom & Bath
The master bedroom suite was another amazing feature of this home. If you know anything about the craftsman homes around Denver, this is a rare find. We believe that a third bedroom on the main floor was used to convert this space into a master with attached bathroom. And again, although the bathroom was small, it was very functional for two people and it gave us the privacy we needed. For the bedroom, I wanted to create a relaxing retreat. Painting the walls to a tranquil, soft teal, and painting the furniture a creamy white helped to instantly update the space on a small budget. I did quite a few DIY projects to personalize the space on a small budget. You can see more here, here, and here.
 |
| bedding |

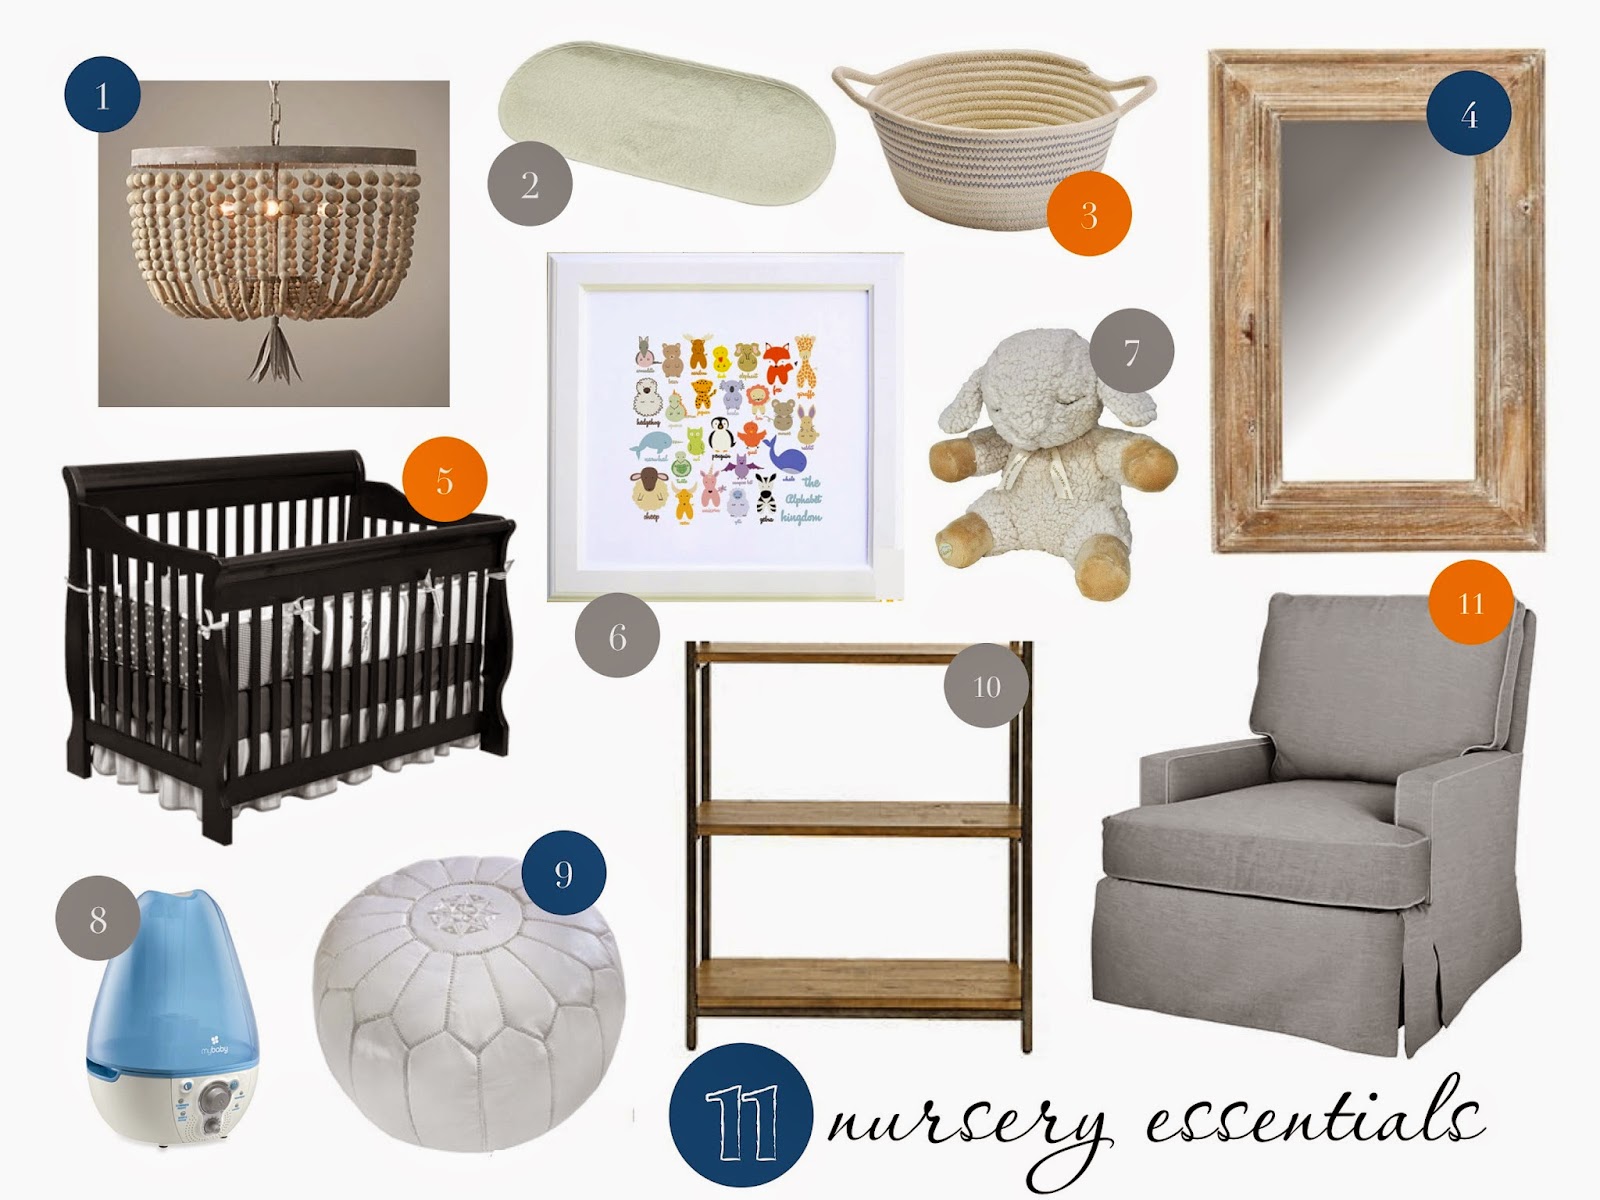
Nursery
Alexander's nursery was such a passion project. It was truly the first room I designed from top to bottom and I stressed over each and every detail. I wanted a gender neutral space that still had some little boy details. I spent the most time choosing the right glider, and I'm so happy that I did because I spent a lot of time rocking our colicky boy there. You can read more about Alexander's nursery here, here, here, here, and here.

Guest Room & Bath
Once our guest room moved to the basement to accommodate Alexander's nursery, it received a little less attention. We made sure it was still inviting for our guests and comfortable. But as far as design, it was lacking a bit. However, after several years of hosting longer-term guests I have quite a few tips I'd like to share for making your guest room inviting. Stay tuned for a future post.


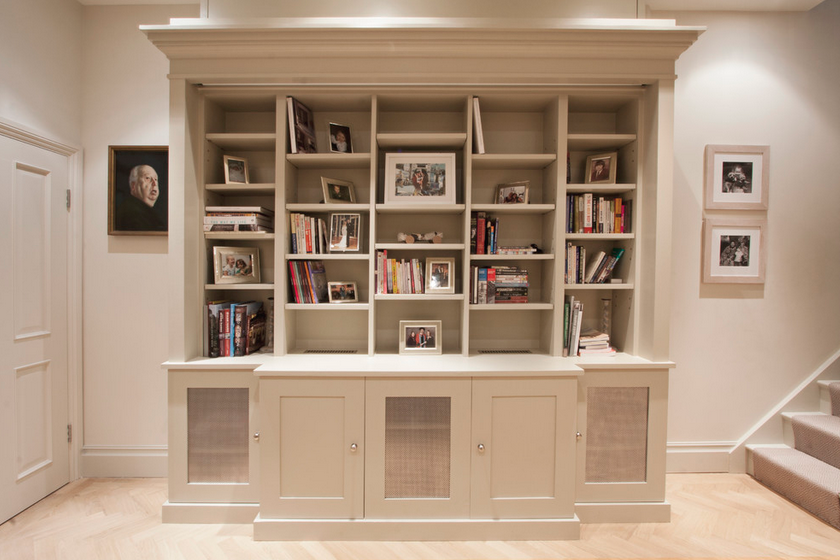
Basement Family Room
We spent so much time in this basement. I wanted a space that was comfortable and casual for our family and guests. Although I really hate when the television is the focal point of a room, this space was truly a TV and movie hang-out spot. Mounting it on the wall with the staircase opened up the entire basement and gave us so much more room to play with Alex. It was the only carpeted area of our home, so it's where Alexander spent the most time and learned how to walk. It may not be my favorite spot for showcasing my love for design, but it was a great space for our family.
 |
| sleeper sofa :: bookcases :: chair |
Home Office
This little nook was an inexpensive quick solution to our need for a designated office space. It functioned well for me and I liked that it was in the basement where I could watch Alexander play while I worked.
 |
| desk :: chair |
*Photos courtesy of Tour Factory